Final 5 Photos
My final 5 photos during photography class. I kept in mind everything we've been taught this term, and this is my outcome.
Subject and Color Contrast
Color Contrast


These series of pictures have color contrast. There are two or more different colors or shades of colors within each photo. They contrast against each other to create a more diverse image that catches your eye.
Subject Contrast


These series of pictures have subject contrast. Subject contrast can be represented by size, age, different variations of something, and more. Even though these were the hardest 5 out of the 10 photos, I enjoyed these more because they are interesting and it tells a story.
Composition Photo
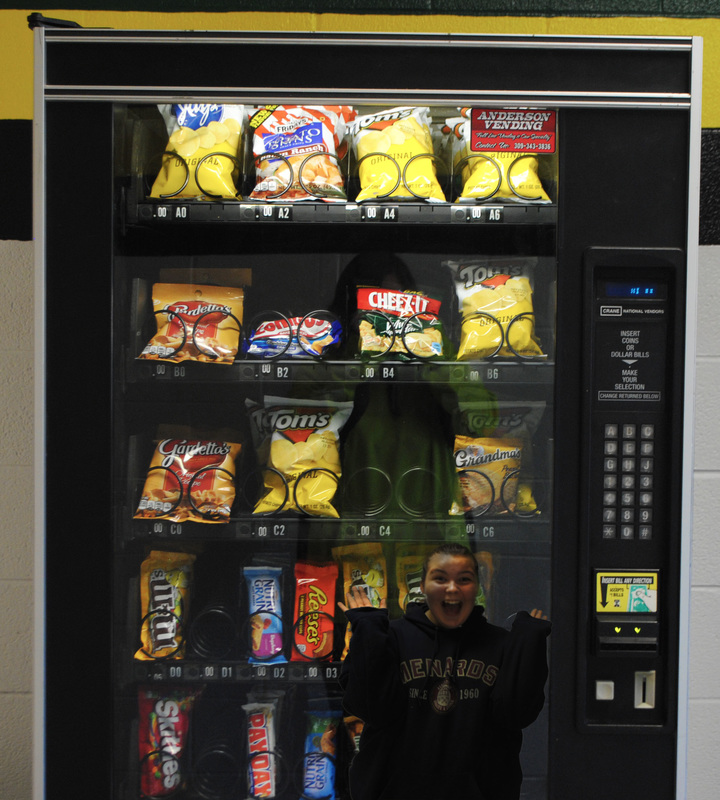
This photo is meant to be surrealistic. My friend Abby is inside the vending machine.
Leading Lines
This series of photos are leading lines. The horizon line is kind of in the middle of the picture, but its meant to draw your eye all throughout it. These were taken in many different places, and I enjoy taking these types of photos, I just wish I had more interesting things to photograph.
Angles


In these series of pictures, I clicked a photo of the same thing at many different angles. As you can see in the second set of pictures, at the Missouri Art Museum, I found this sculpture type thing. I took 5 different pictures of it, and as you can tell, it changes the effect of the picture depending on what angle you take it. This is true for many things, as you can tell with my other pictures as well. Changing the angles helps enhance the picture and bring out the different aspects of the subject at hand.
Framing
Rule of Thirds


I used the rule of thirds to create these pictures. They are all centered in the left, mostly because it makes me uncomfortable to center the subject in the right of the frame, I don't know why. I brought out the contrast and different colors within these pictures in Photoshop, and these are the final products.
Golden Ratio


These photos were created using the golden ratio. The pictures are meant to draw your eye in, using the spiral. This was quite difficult to do, and none of these photos are extremely golden ratio, but I made them work. I edited these in Photoshop to make the colors more vibrant and to just made the photos look better in general.
10 edited photos (2)
I took a maximum of 40 pictures and picked out the best 10. I then opened them in Photoshop, edited them, and made them pop, brought out the colors and contrast within them to make them look better than they did before.
10 Edited Photos
10 Photo's I took around the school and edited on Photoshop.
F-Stops, Shutter Speeds, and ISO's
Foreground


As the Aperture gets larger the F-Stop gets smaller (F-5.6) the depth of field begins to get smaller, making middle ground and background start to become blurry. Note: F-36 large depth of field, F-5.6 shallow depth of field.
Middleground


As the Aperture gets larger, both the F-Stop and the depth of field begin to get smaller. This makes the foreground and background start to become blurry.
Background


As the Aperture gets larger, the F-Stop and depth of field get smaller, therefore making foreground and middle ground become blurry.
Aperture


As the F-Stop gets smaller, the lighting begins to get darker, but everything else stays the same.
Shutter Speed
Stationary


When the shutter speed is set to a faster setting, the pictures start getting darker and the focus somewhat leaves the picture.
Moving


Since all the settings change, you can see that none of them worked out too well. You can tell Joshua's arm is moving, but it's blurry and the lighting begins to get darker until it's black. I should have experimented with different settings to get the right one, but these were my first shots.
